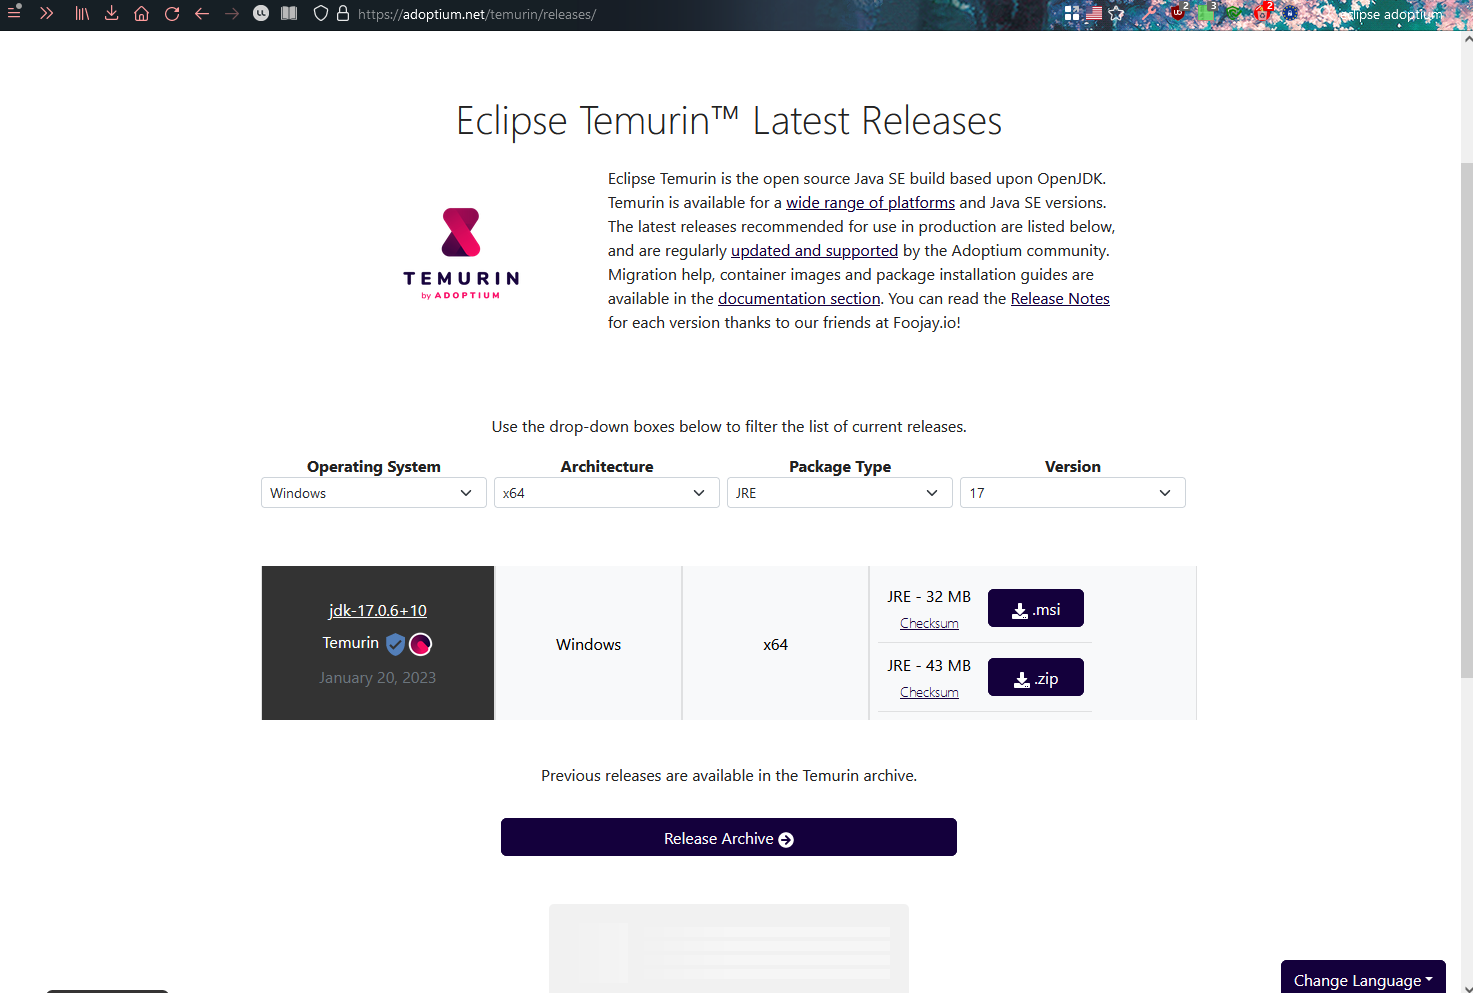
Visit https://adoptium.net/temurin/releases/. There will be four different options: select your operating system on the left and architecture in the middle-left (almost certainly x64). Under "Package Type", be sure to select "JRE" instead of "JDK", and under version, to select "17" instead of 18 or 19. Click the download button below for the .msi file and run it when it's done.
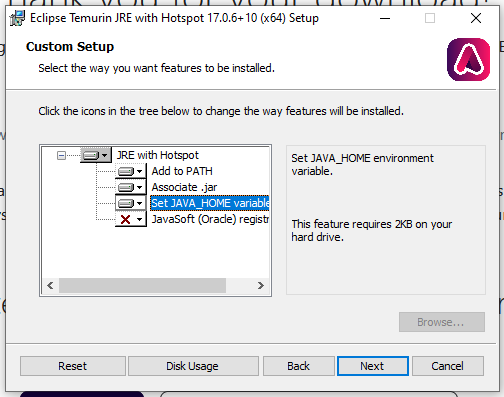
Proceed through the installer. When you get to the "custom set up page", make sure to install the feature that reads "set JAVA_HOME variable".
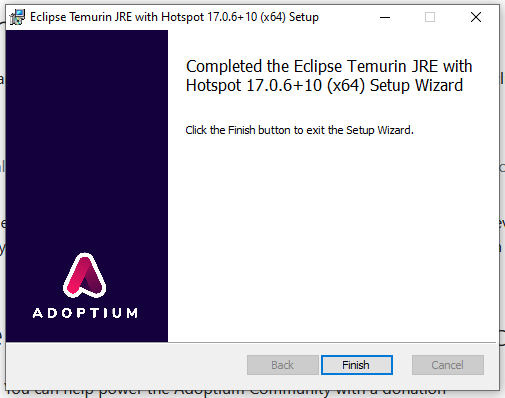
Proceed with the rest of the installation - you can hit "yes" for everything if it asks.
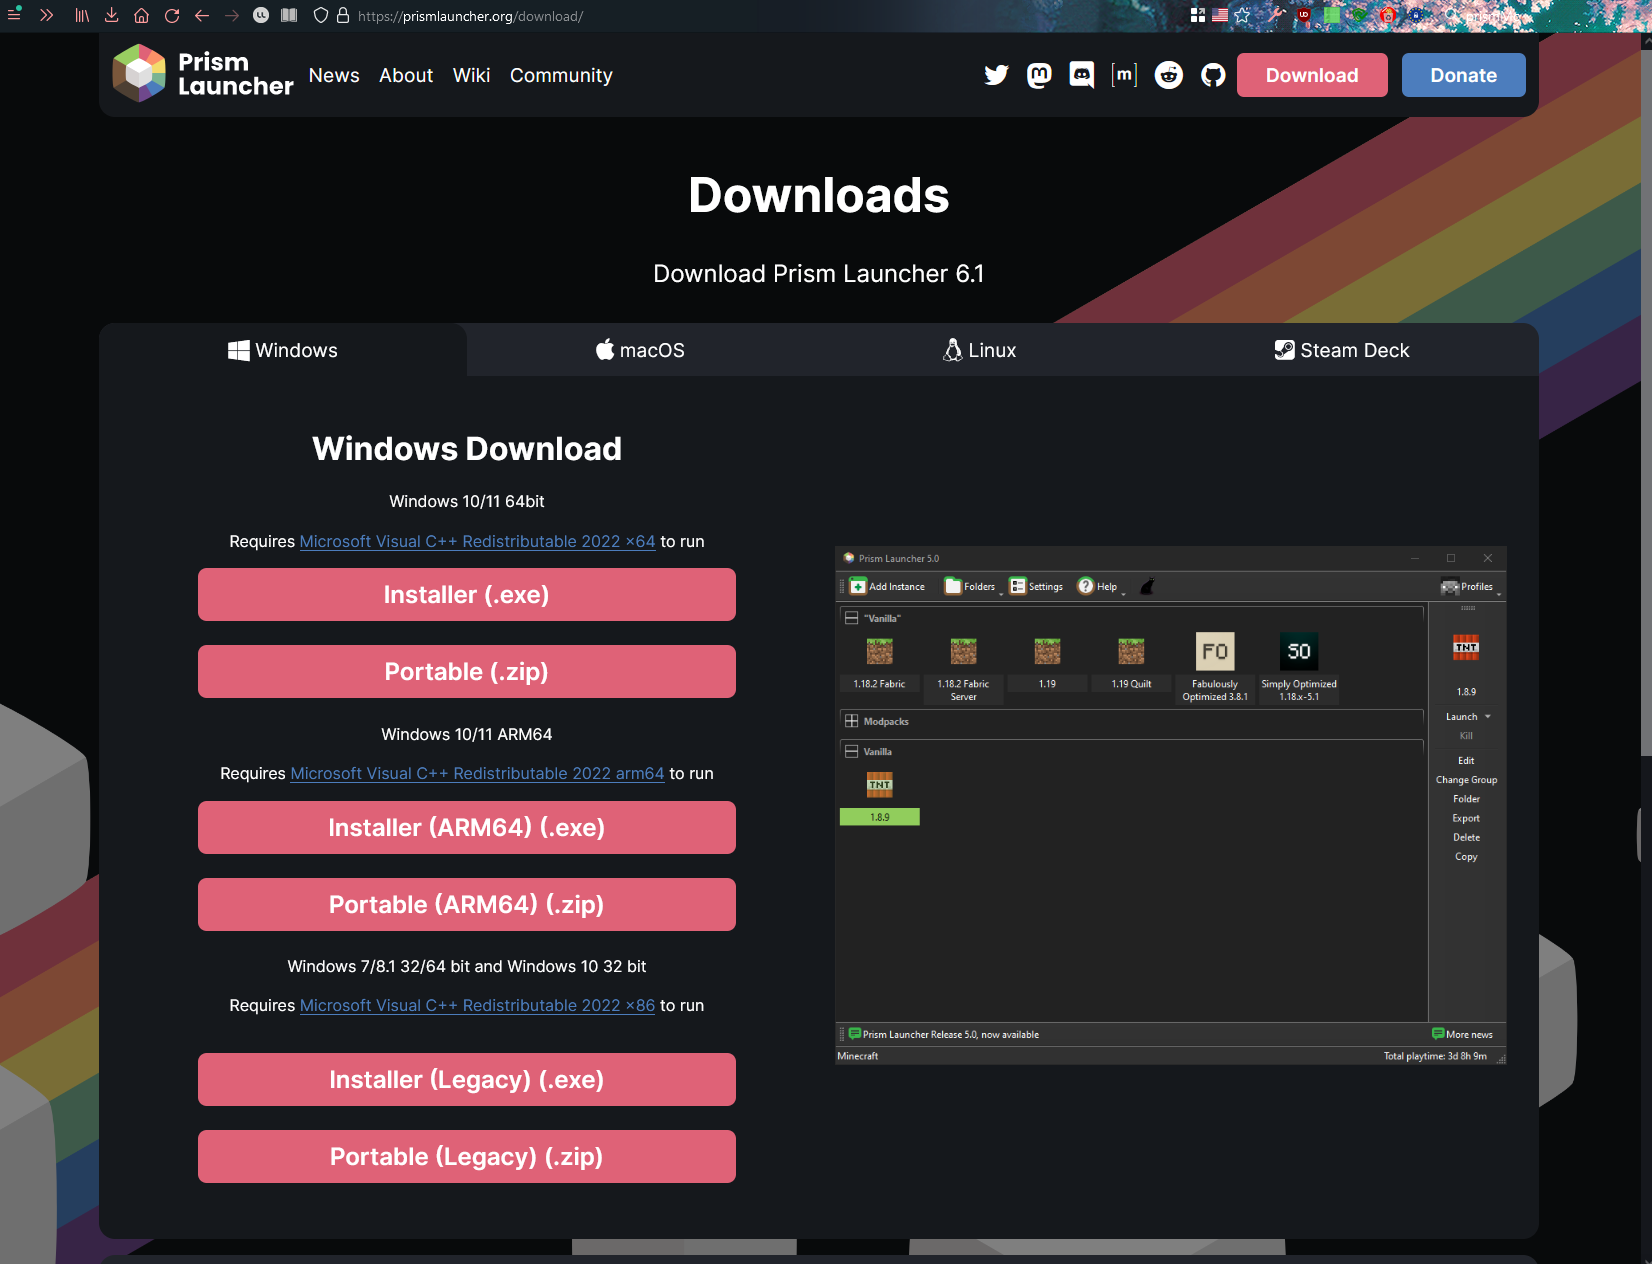
Once Java 17's installed, visit https://prismlauncher.org/. Go to their download page and grab the appropriate installer (I recommend the .exe instead of the .zip, but it's up to you). Once the download has completed, either run the .exe file or unpack the .zip to a location of your choosing and run the .exe inside.
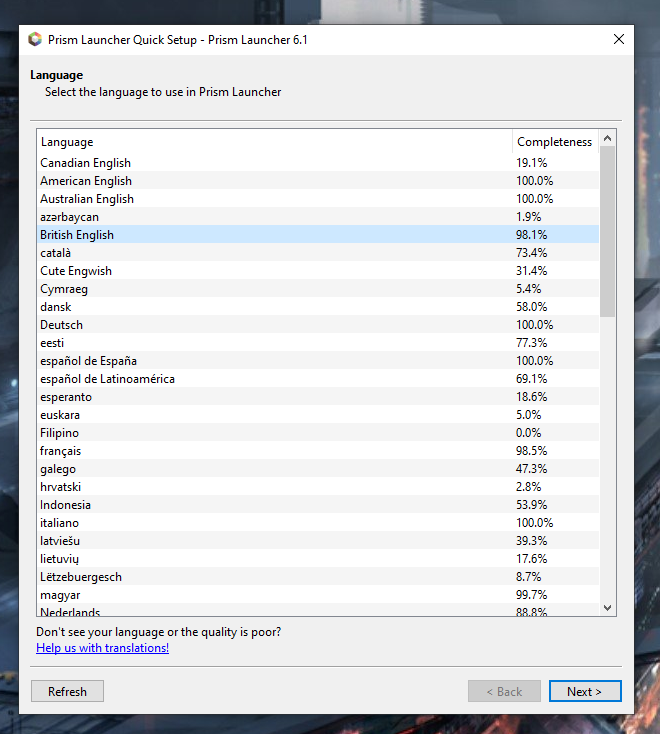
Set your language as desired.
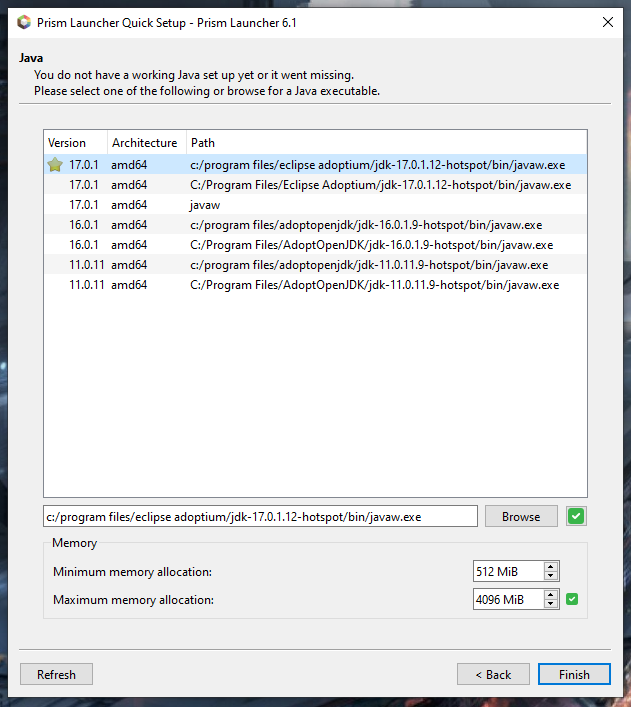
Make sure the selected Java version reads 17.0.1 - the path doesn't matter (the one labelled "javaw" is fine). You can allocate however much RAM you want to your installation below. Hit "finish" when you're done.
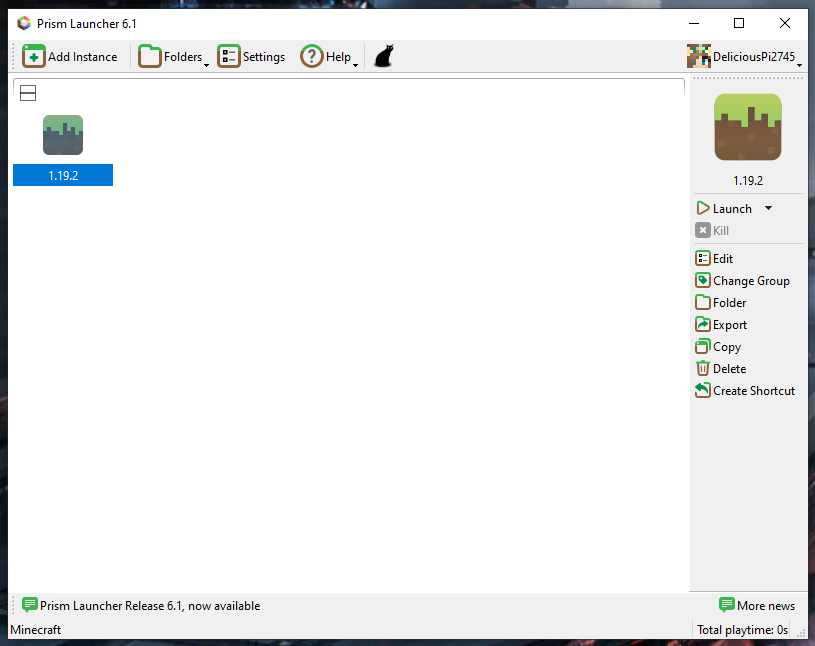
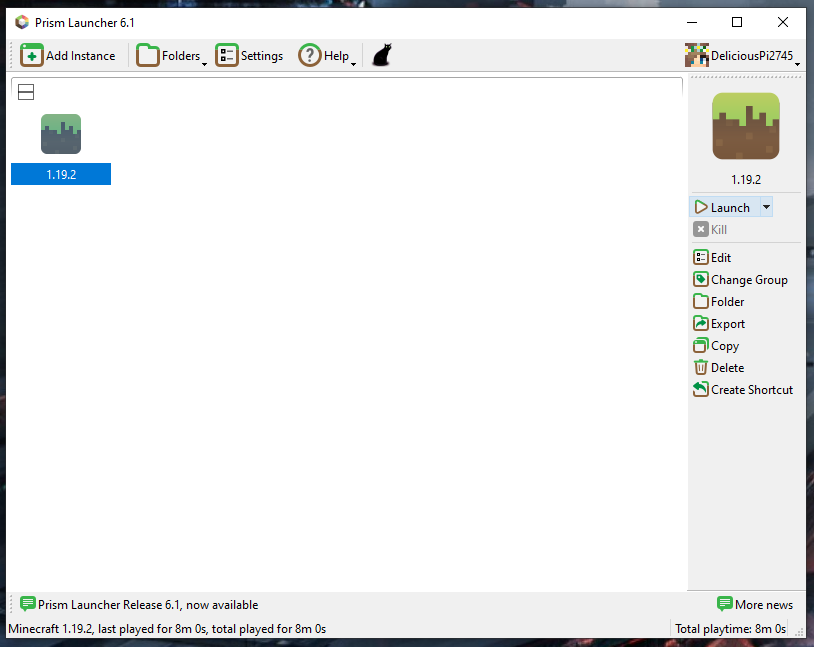
Your copy of PrismMC should look something like this.
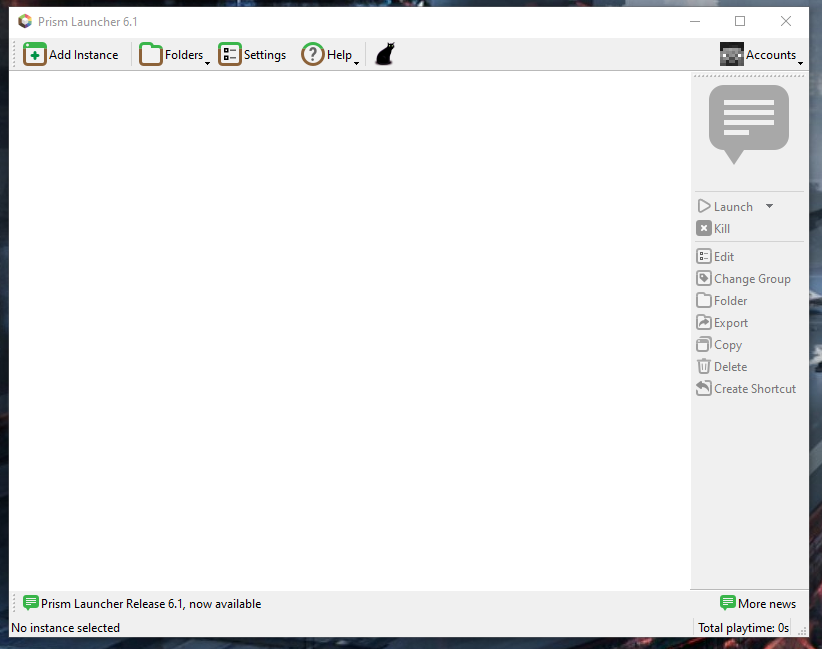
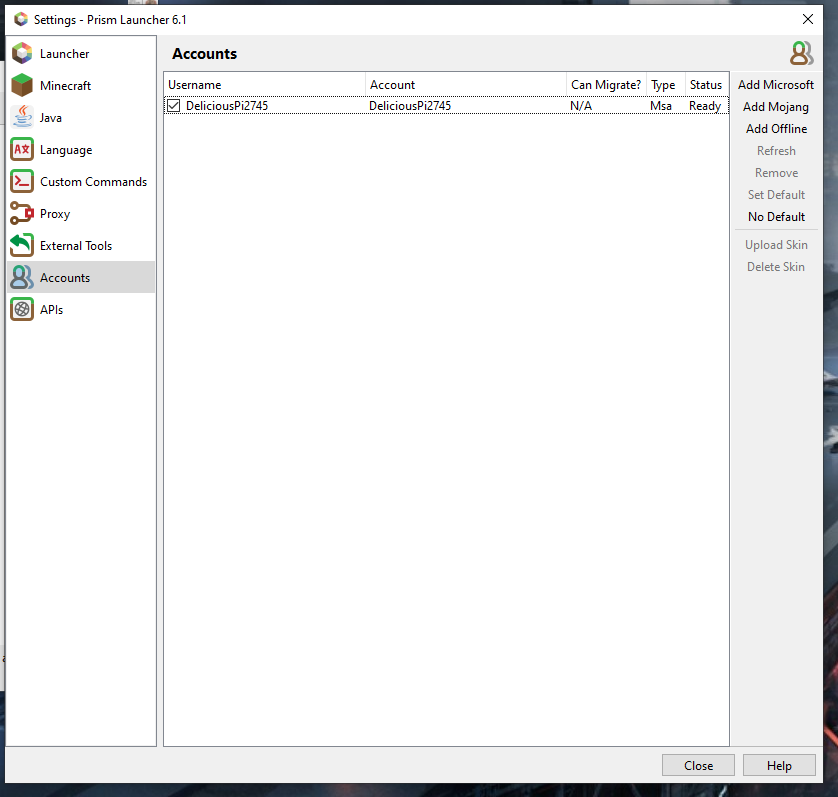
Click on the "Accounts" button to the upper right.

Again to the top right, click "add microsoft".

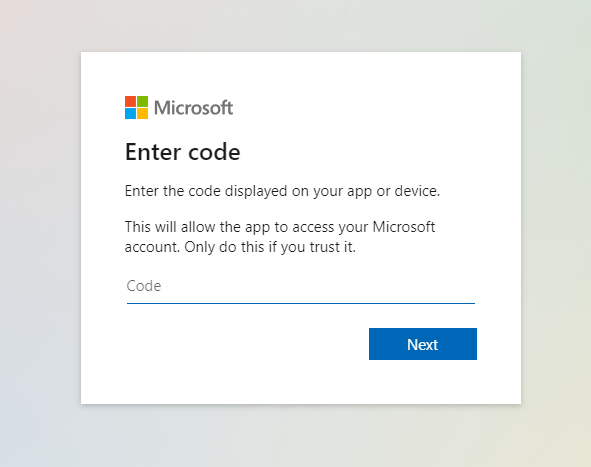
Copy the code that's generated (mine is censored in the picture) and click the link.
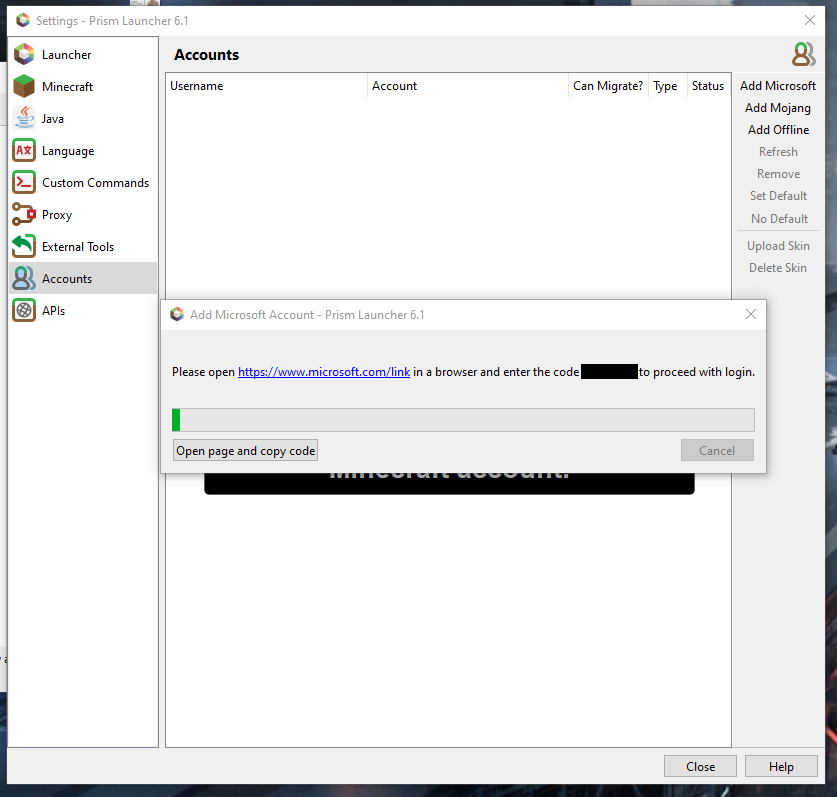
Enter the code and follow the prompts.
Return to Prism Launcher. You'll be logged in!
Return to the main screen of Prism Launcher. Click "add instance" in the top left.

In the "new instance" window, select minecraft version 1.19.2 from the top list. Under "Mod Loader", select "Quilt", and then version 0.17.8 from the bottom list. Click "ok".

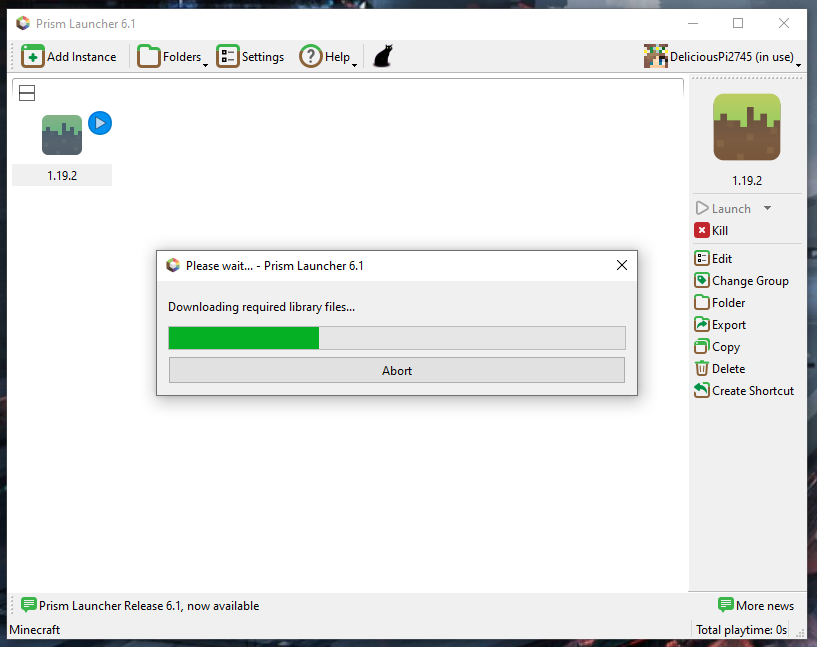
The new instance will have appeared in the main window. Double-click on it to run it.
Prism Launcher will start downloading Minecraft. You can proceed to step 14 while it downloads.
Once the game has successfully launched once, you can close it.
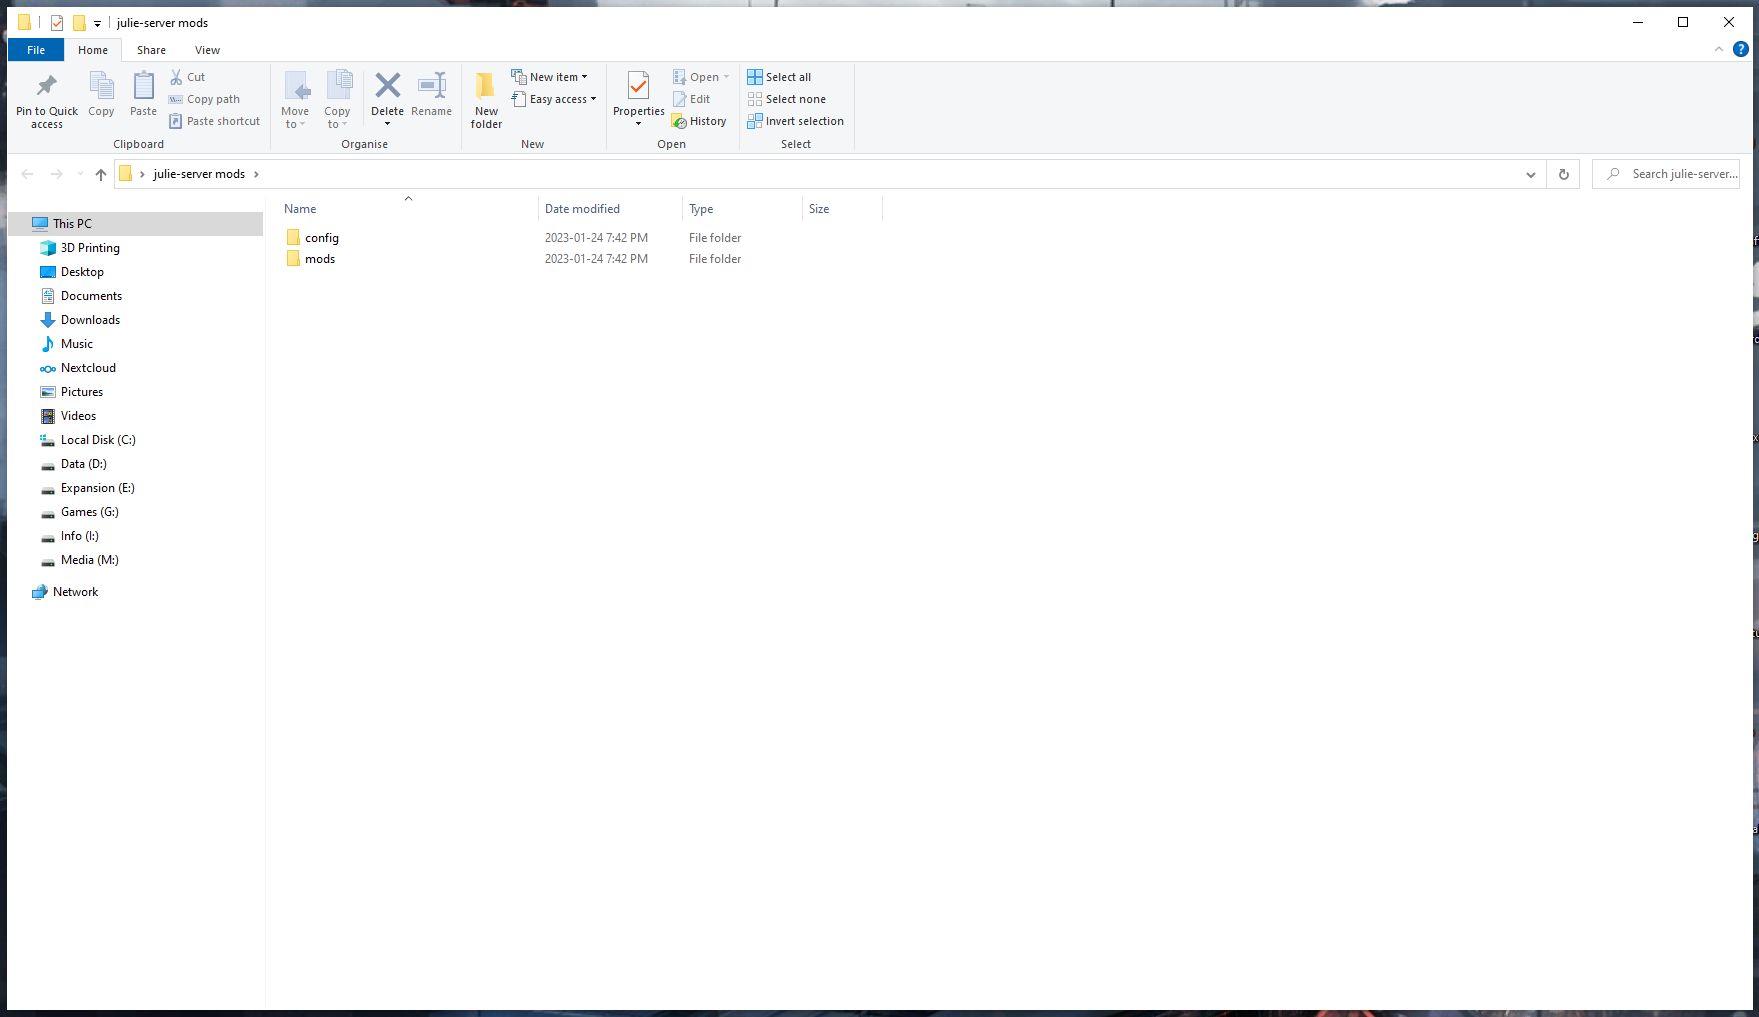
Go to https://drive.proton.me/urls/Y1XZSJ7FY8#ritTdOUGM8PY and start downloading the file (ask me for the password). I've packed all the required mods into a single zip folder - there's nothing too heavy or extravagent; it's almost all little tweaks/quality-of-life features and optimization mods for performance. Once it's downloaded, extract the file. There should be two folders inside, "mods" and "configs".
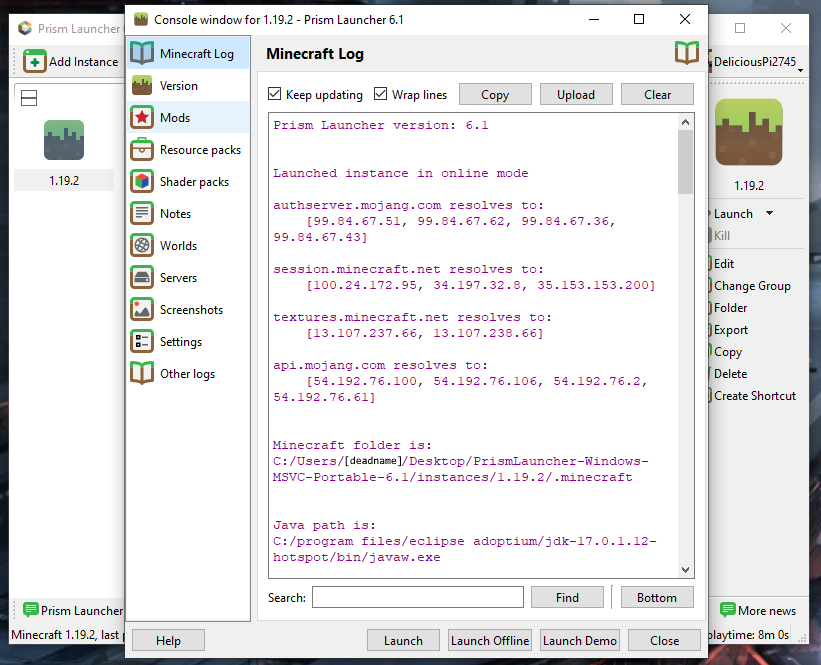
Go back to Prism Launcher. Right-click on the instance you just installed and click "edit".

On the left side of the window that opens up, click "mods".
The new window should be blank.

Navigate to the "mods" folder inside the zip file. Select all the files inside and drag & drop them into the blank space in the middle of the window.

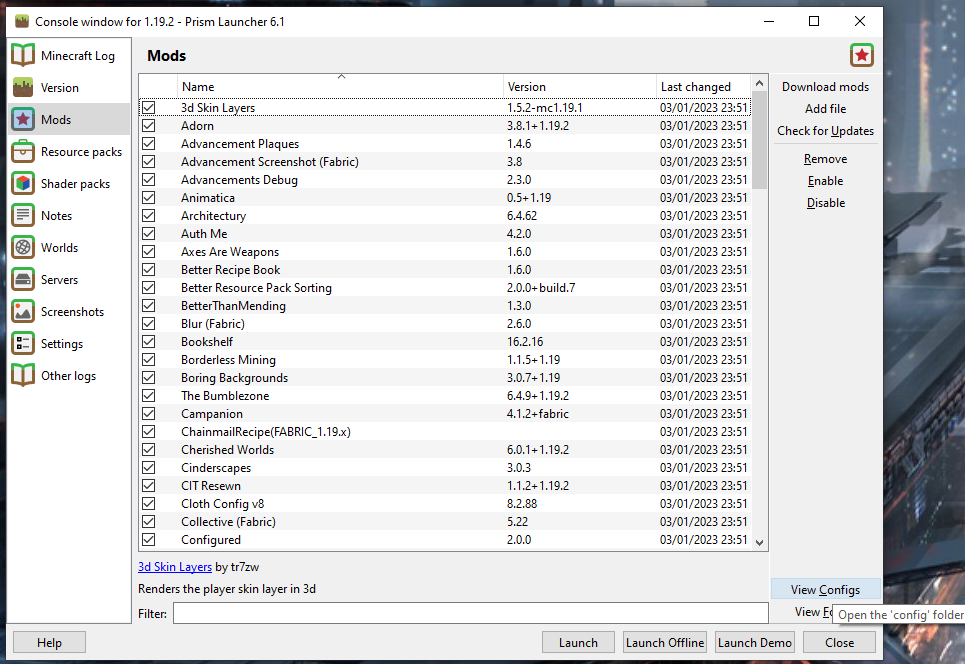
It should end up looking something like this (although the exact list of mods has changed since I took the tutorial screenshots).
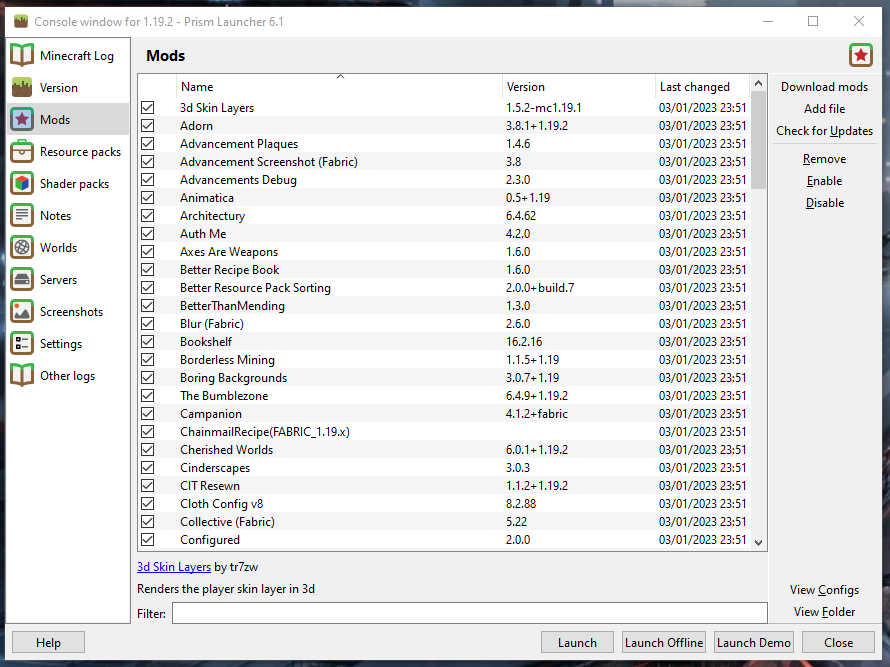
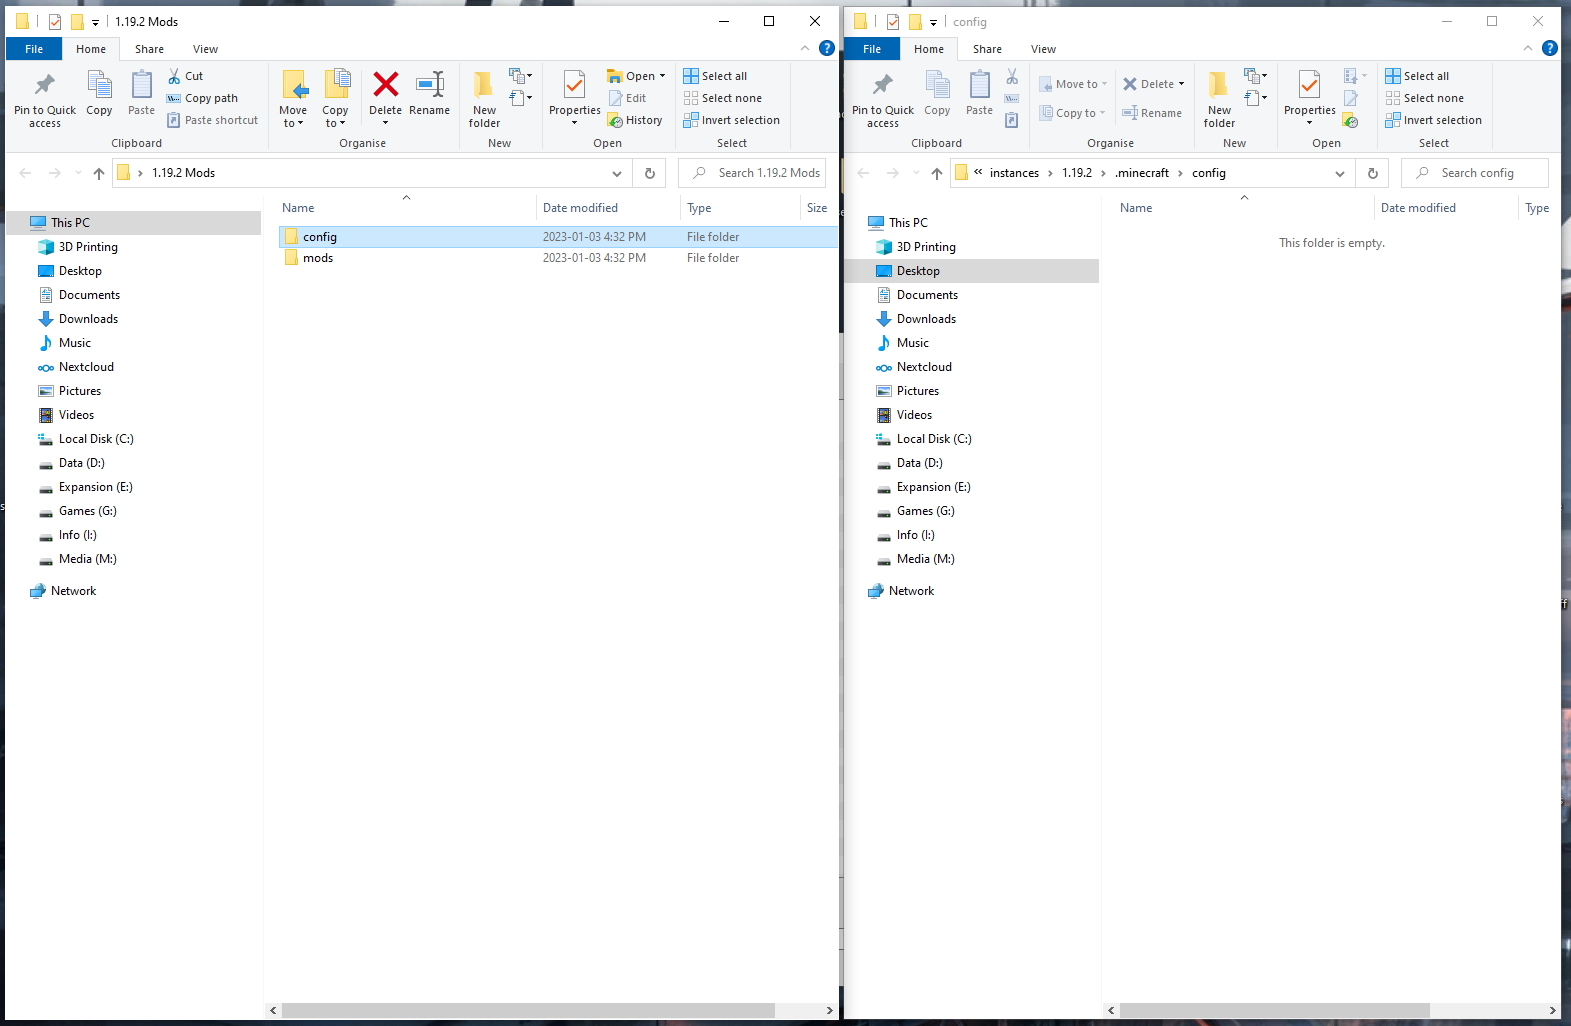
Click on "view configs" in the bottom-right of the window. This will open up a new folder.
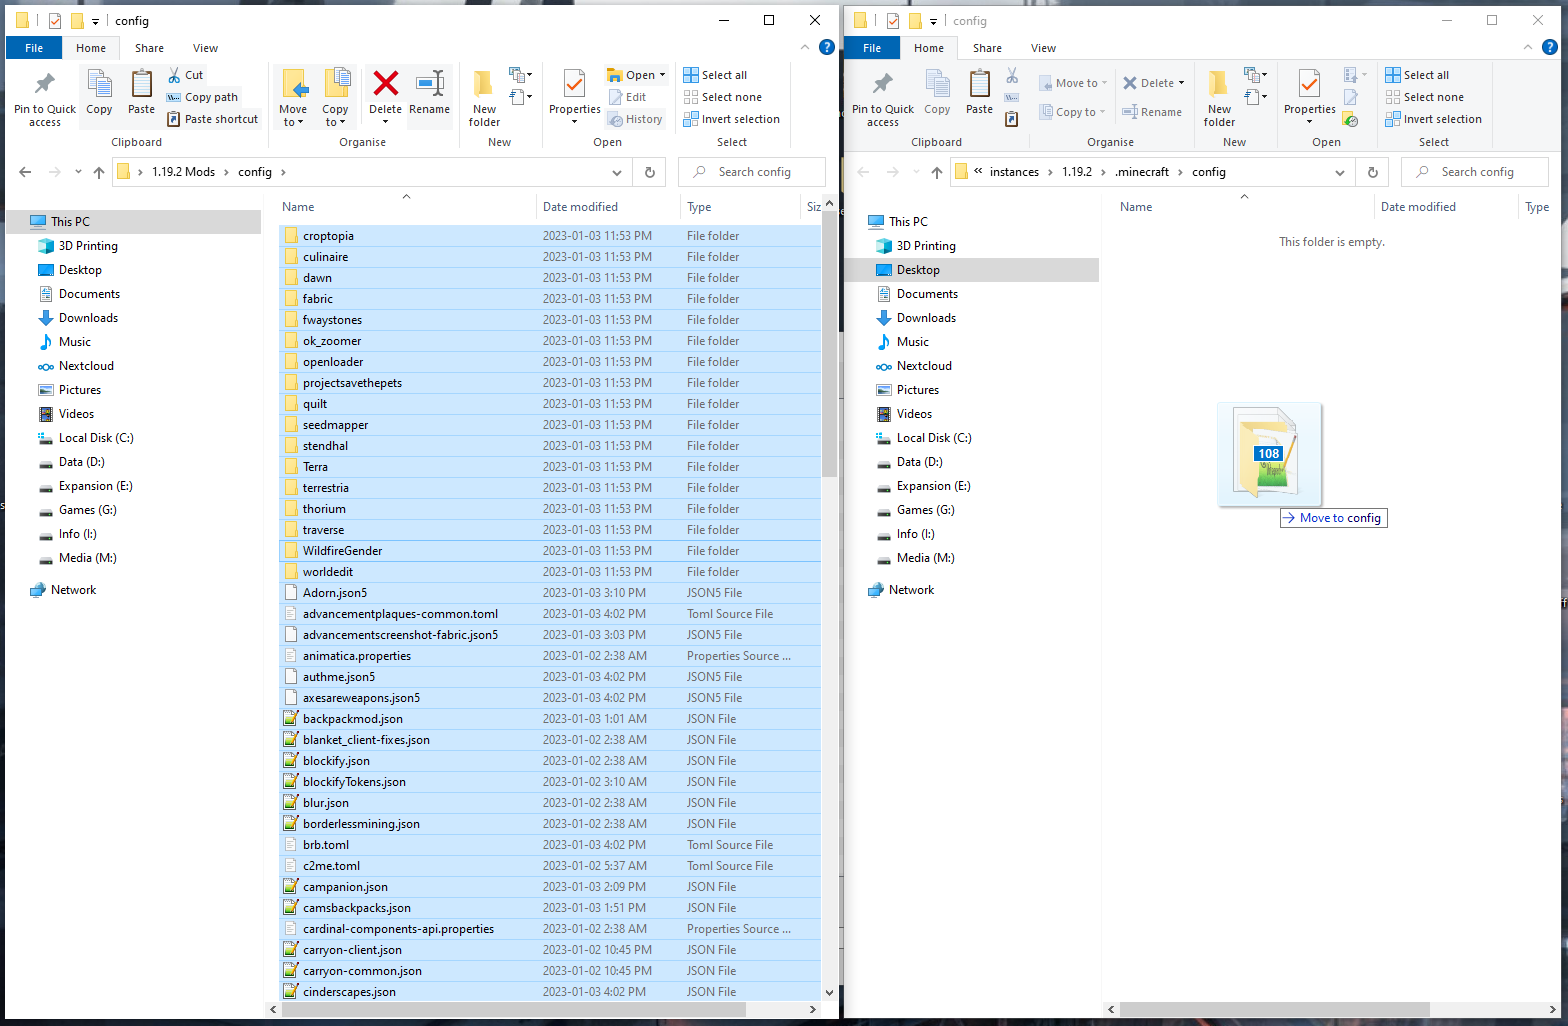
Go back to the zip file. Navigate back from the "mods" subfolder to the main folder, and open the other subfolder (marked "config").
Again, select all the files inside and copy them to the new folder that was just opened.
You can close all the extra windows and folders now. That should be it!
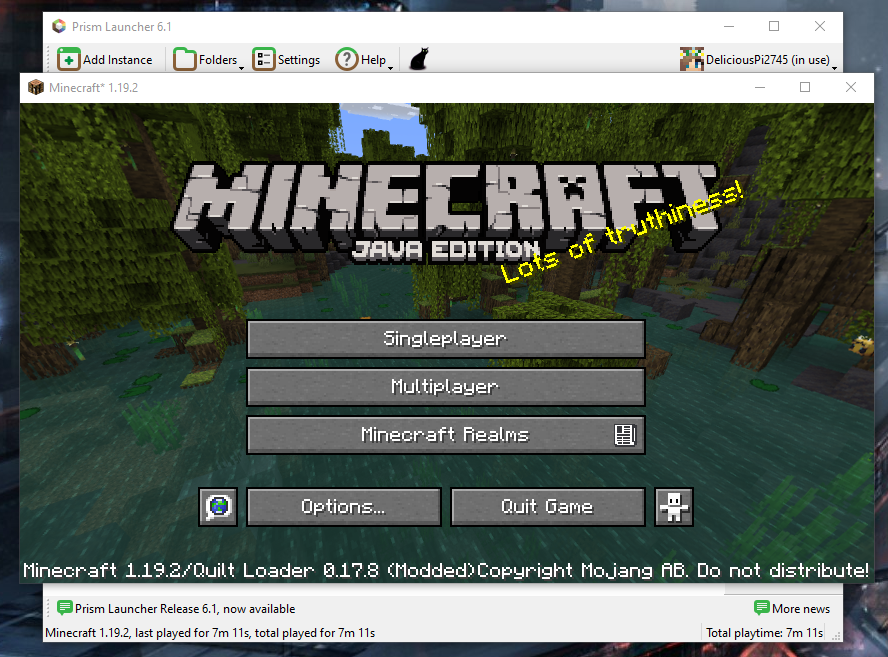
The only thing left to do is check that everything's working. Double-click on the instance to open it again, and if it's all gone well, then it should boot successfully into the main menu. You're ready to join the server!
